

What comes after pencilling? Inking, of course!* There are lots of tools that you can ink with, and they each have different uses.
Choose Your Weapon

Want to draw lots of little intricate details? A fineliner or dip pen are great for that.
Want to cover a large area of black without it taking an eternity? Use a big brush with ink or a broad felt tip/marker.
Different tools will produce different thicknesses of line (or line weights), and your inker of choice will affect your finished drawing.
Draw!
See how the drawings below look different?

The first one has the same line thickness for everything, while the second one has a thinner line for one of the characters. What does this do? It shows us that one character is in the background!
You can create this effect simply by using a thinner pen, but some tools will allow you to draw thin and thick lines. For example, take a brush pen – if you press lightly, you’ll get a thinner line. If you press hard, you’ll get a thicker line. Simple! This also applies to digital pen users.
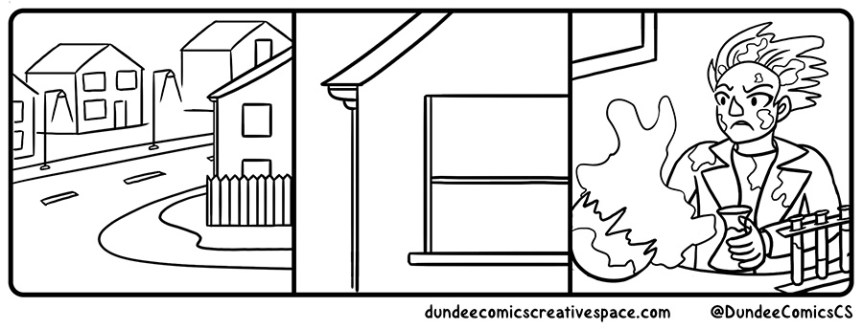
Comic Example – Now With Ink!
Another thing to think about when inking is how much detail you put into your drawing. If you put lots of details into a specific area, that’s where your reader is going to look first. What do you want people to look at? What’s most important in telling your story?
Practice
Here are some drawings for you to practice inking with! Think about how thick and thin you’re making your lines, and where you might want to fill in areas of black. Most importantly, have fun with it, and stay tuned for colouring next week!

*Not always, but that’s something we’ll go into later!
